How to Turn an Unused Coffee Table and Old Window into a Coffee Table Display Case
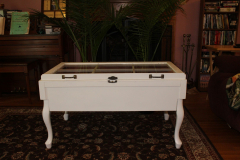
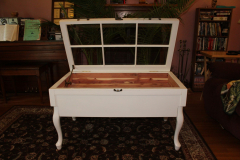
My niece Elizabeth asked me to rework an unused coffee table for her, affixing an old window to its top to serve as an open and shut display window.
Her mother, my sister, had a coffee table she didn’t need anymore that I could use for the base.
Elizabeth and I based our concept of what exactly we wanted the end product to look like on images found on Pinterest.
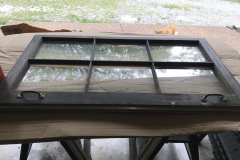
First I concentrated on the window:
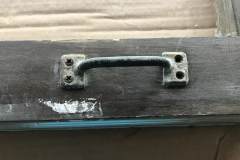
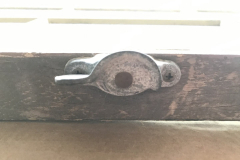
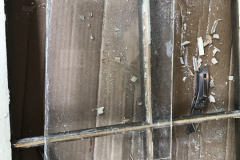
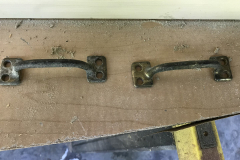
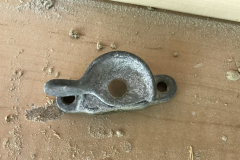
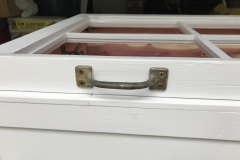
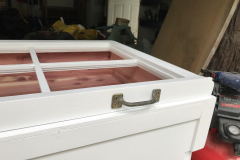
I removed what little hardware there was on the window, two handles and the top half of a locking mechanism, and saved them to use on the finished product.
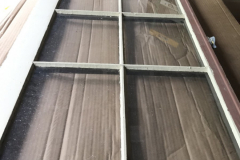
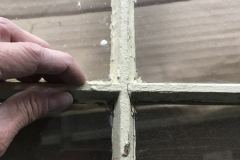
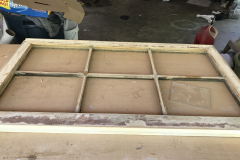
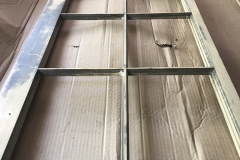
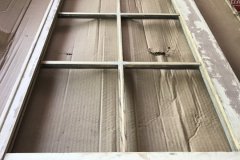
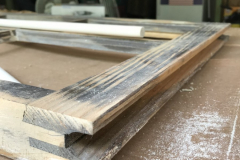
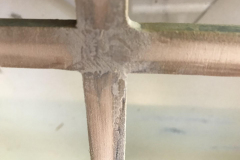
I wanted the side of the window, which would be the top side of the table, to have a flat surface. However, I still wanted it to retain that old window look. So I left the sturdy wooden grills (these divide the glass panes) on the side that would face down but decided to remove the wooden grills from the intended top side.
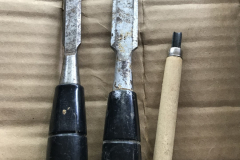
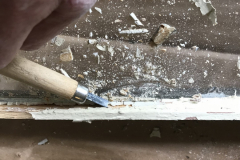
I used various chiseling tools to carefully removed the putty that held in the glass.
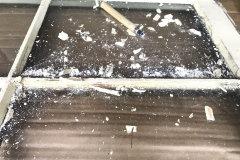
Once the putty was gone I was able to remove the desired wooden grill. At this stage, I also removed the glass which was far too thin and breakable to be used as a tabletop. I would replace this later on.
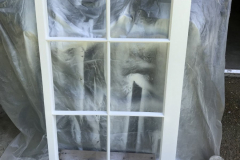
Then I removed the paint using a spray-on paint remover. There were several layers of paint so I had to do this about three times.
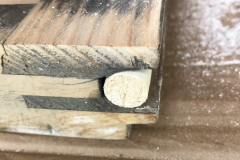
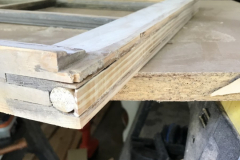
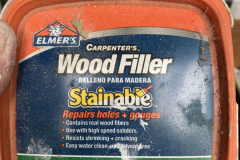
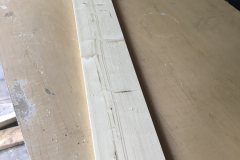
One edge of the window had a deep grove down the middle. I filled it in with wood and wood filler.
I also used the wood filler on any holes and cracks in the wood.
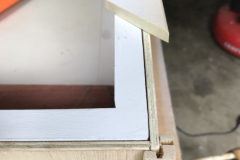
After a thorough and vigorous sanding process, I painted the window white. I used spray paint because I wanted a nice smooth surface without brush marks.
Then I turned my attention to the table:
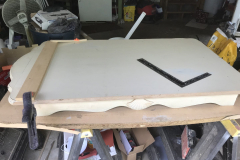
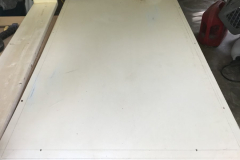
The legs of the table were removed. The table had scalloped edges along the front and side which I removed making the table rectangle the same shape as the window.
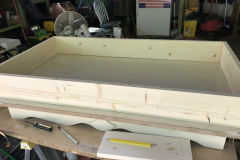
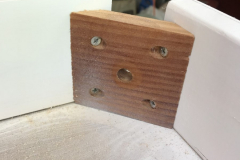
Using 1 x 4 wood planks I created a box and attached it to the top of the table with screws.
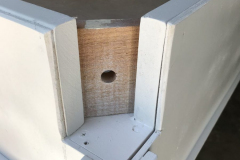
The wood around the edges of the base of the table was also scalloped and not flush with the upper end so I removed these. I placed 1x4s in these areas to make sure to leave the correct gap for the legs to be attached later.
Used wood filler in any gaps in the table pieces and sanded it all down.
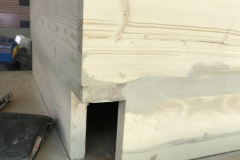
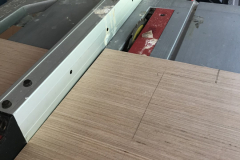
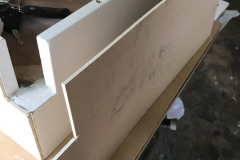
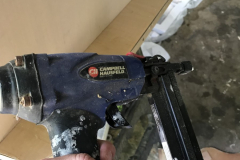
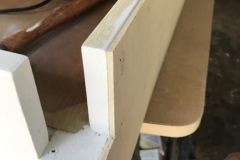
I wanted a smoother, more even look so I used ¼ inch thick sheet wood on the sides. I cut the pieces to size and used wood glue and a nail gun to attach them.
Throughout the process, I had been applying several layers of white paint to the table and its legs.
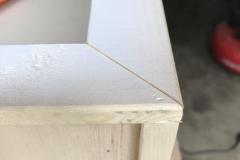
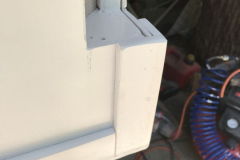
Added some trim to the top edges and corners of the table.
Reattached the legs and leg supports.
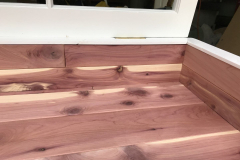
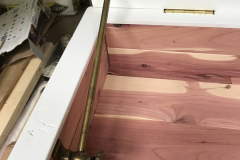
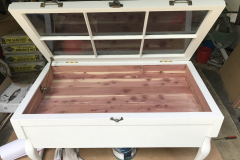
Lined the inside with interlocking aromatic red cedar planks using wood glue and a nail gun.
Bringing the window and table together:
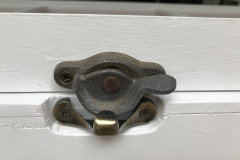
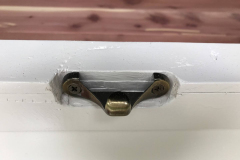
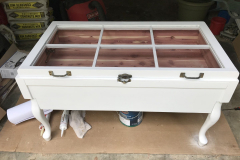
Cleaned the hardware the best I could and reattached it to the window. I bought a new locking mechanism but just used the bottom piece since I wanted to keep the original pieces.
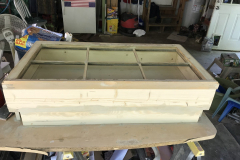
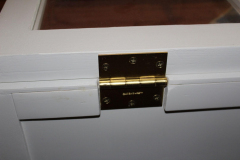
Attached the window to the table with new hinges.
I found an antique adjustable window support on eBay and attached it to the inside.
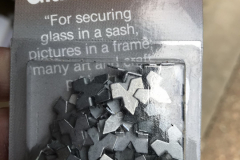
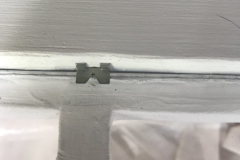
Replaced a new type of glass at this point and decided to use plexiglass instead of glass because it comes in different thicknesses and is stronger. I bought it at Lowes. They cut it to the exact size I needed. After setting it in place I used glazier points to hold it firmly in place.
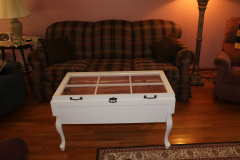
Done!
I’ll be honest, I didn’t do everything in the exact order I described. A lot was done by trial and error, but I enjoyed working on the coffee table and am pleased with the result. More importantly, Elizabeth loves it!
Discover more from Rambling Ever On
Subscribe to get the latest posts sent to your email.




Good work! And thanks for sharing with REO readers!
I am amazed!